

How To Add Wordpress Blog To Shopify

This video tutorial shows you step by step instructions on how to migrate your Blog Posts and Pages from WordPress to Shopify.
Steps to migrate Blog posts and Pages from WordPress to Shopify:
- Export your WordPress Blog Posts or Pages using the "All Export" plugin to the CSV file.
- Rename the CSV file to contain words "WordPress" and "Posts" or "Pages" depending on what you are migrating, for example, "WordPress-Posts-Export-2019-September-23-1638.csv".
- Upload file in the Matrixify app.
- Select Import options – select "Dry-run" and fill Old server URL
- Download Matrixify generated files.
- Upload the image files to your Settings -> Files section in Admin.
- Double-check the generated Excel file and clean-up any information if needed (if you did a dry-run).
- Import your Excel file in the Matrixify app to create your Blog Posts or Pages (if you did a dry-run).
- Check your Import Results file after the import.
- Enjoy your migrated data.
Now let us go thru each step in detail:
1. Export your WordPress Blog Posts or Pages using "All Export" plugin
Install the plugin and create new export
In your WordPress site, to export all necessary details about the posts, you first need to install the plugin "All Export".
Once installed and activated – in the left side panel you can click on "All Export" -> "New Export".
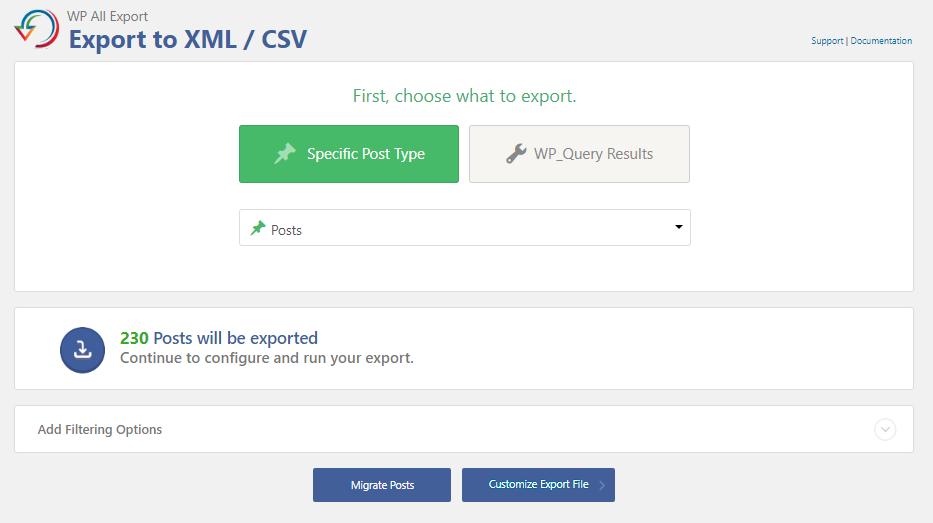
Select "Post Type" – " Posts " or " Pages " from the drop-down depending on which ones you wish to migrate and click on "Customize Export File"
Customize Export File
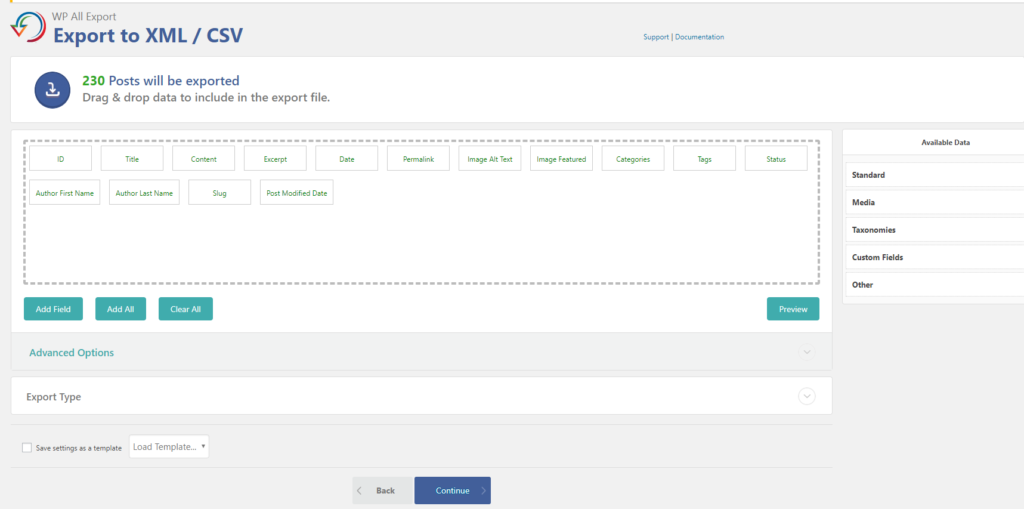
Now you need to select specific fields to export for your posts.
You can also try selecting "Add All" but in some cases, this can break the CSV file data leading to corrupt CSV file – we are suggesting to select specific following fields for your exports.
Blog Posts
Standard – ID, Title, Content, Excerpt, Date, Permalink
Media/Images – Alt Text, Featured
Taxonomies – Categories, Tags
Custom Fields – _yoast_wpseo_metadesc, _yoast_wpseo_title (Optional SEO fields from Yoast plugin)
Other – Status, Author First Name, Author Last Name, Slug, Post Modified Date
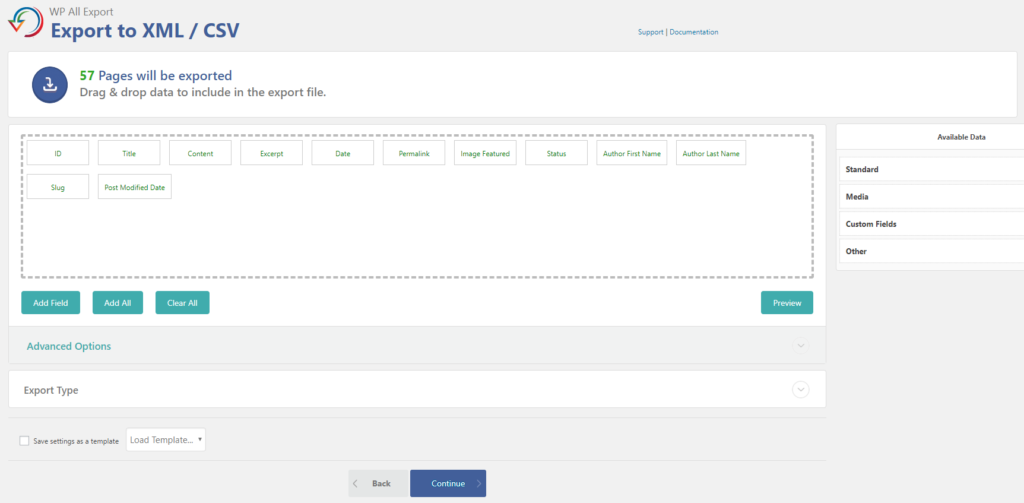
Pages
Standard – ID, Title, Content, Date, Permalink
Custom Fields – _yoast_wpseo_metadesc, _yoast_wpseo_title (Optional SEO fields from Yoast plugin)
Other – Status, Author First Name, Author Last Name, Slug, Post Modified Date
Once fields are selected click on the "Continue" button.
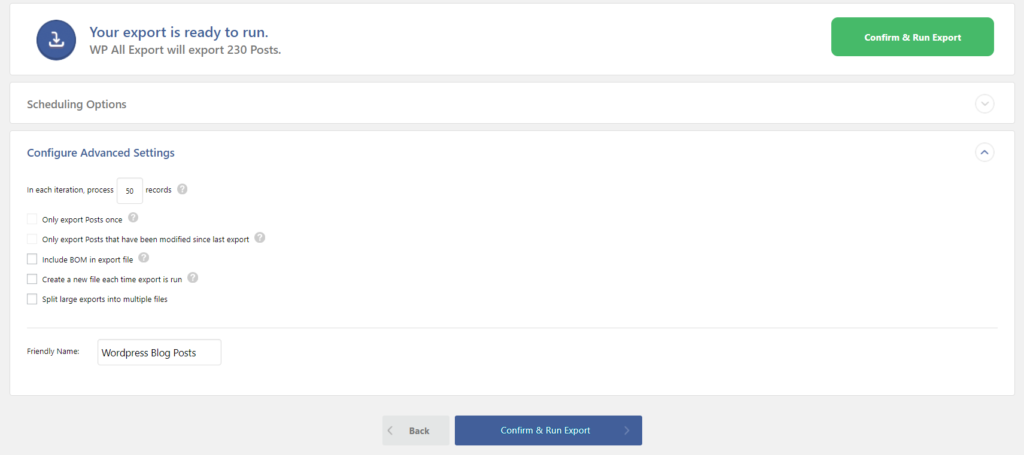
If you wish you can select any options that you have on this page.
In this page, in the field "Friendly Name:" you can also already apply Matrixify friendly name to your export file, for example – "WordPress Blog Posts".
When you have selected Options you need, you can click on the "Confirm & Run Export" button to start the export.
Download exported file
Now you will have to wait a bit for the items to get exported. When it is finished new page will open where you can click on the "CSV" button, to download exported CSV file.

2. Rename the exported file
Once you have downloaded the file, it is important not to open and edit it. Excel and other programs tend to break the CSV file structure when opened, and saving the file will lead to the file being broken.
If you will need to adjust the data, you will be able to do so in the Matrixify template Excel XLSX file in step #7.
If you did not apply the "Friendly Name" option then this is the moment when you need to rename the file to contain words "WordPress" and "Posts" or "Pages", for example, "wordpress-posts-for-excelify.csv"

3. Upload the file to Matrixify
Head into the Matrixify in Shopify and in the Home page of the app you will see "Import" section.
Press "Add File" button or drag & drop the file in this section.
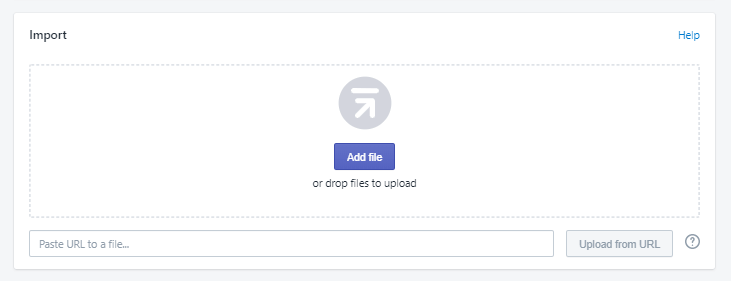
First, the app will upload the file and analyze it.
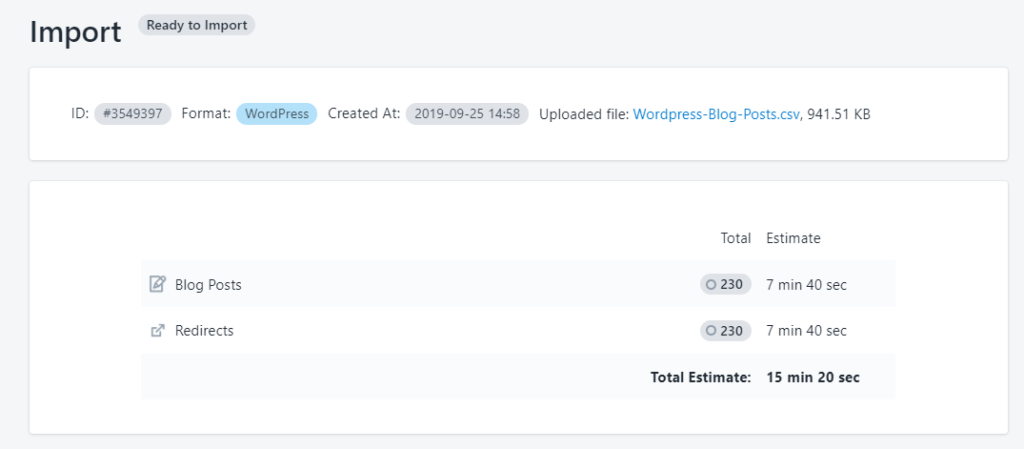
Once analyzed, make sure that the app recognized the file as "WordPress" format and Blog Posts (or Pages).
Here you can also see that the app will generate Redirects as in Shopify Blog Posts will have different URL path in Shopify.
4. Select Import options
Old server URL
In the Import Options, you should see the field "Old server URL" in which you need to fill the website's domain that you see when logged in to the WordPress admin.

This Domain URL will be used by the app for two main reasons:
- If in the Post or Pages content there are relative image links, that do not have a domain. Then the app will use the filled domain to construct the image link for an image download.
- If the store URL is filled, the app will try to take Post and Pages content primarily from WordPress API. The benefit here is that the API returns front-end content HTML code ensuring that formatting is correctly migrated if using various plugins for content formatting in WordPress.
Enable "Dry-run"
In the Import Options section of this import job and select the option "Dry Run – convert the file and test as far as possible without actually importing anything".
Using dry-run the app will not import any data in the store but will generate Matrixify Excel file and Folder with Images from the content.
Once options are selected, press the "Import" button to convert the WordPress data to Matrixify template file which is suitable for later import to Shopify using Matrixify.
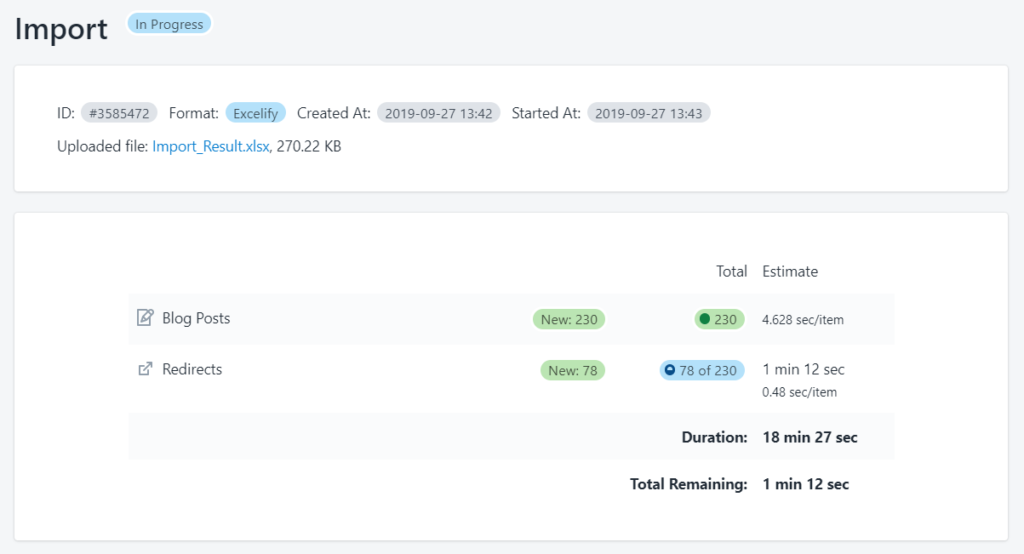
Note – you do not need to keep the app open while the job is running as the app is working on it on our servers. You are free to close the app and by default store owner will receive an email about a finished job (can be edited in Matrixify app Settings). You can always find this job in the app by going into "All Jobs" page.

5. Download Matrixify generated files
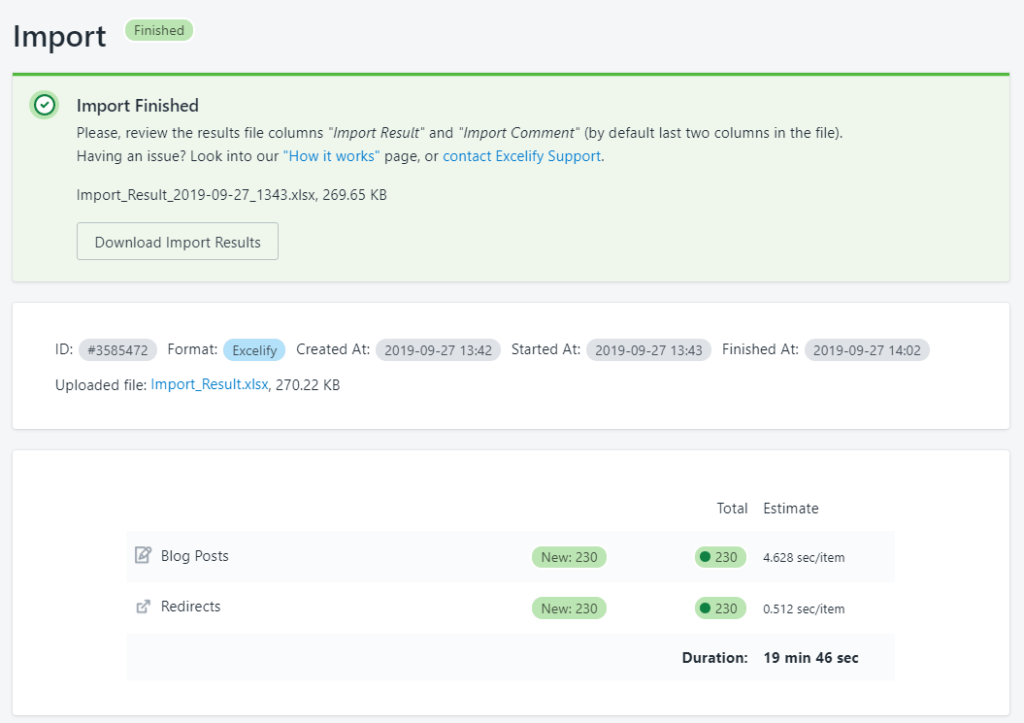
When the app will have finished generating the files you will see green "Finished" label for the job.
Now you can click on the "Download Exported File" button to download your file.

6. Upload generated images to Shopify Files
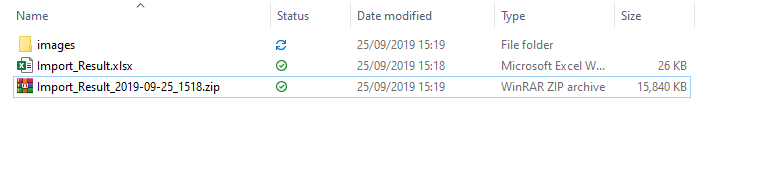
In the exported ZIP file you should have a directory "Images" with all images from these Blog Posts (or Pages).
Start by unzipping the file in your computer.
Now head into your Shopify Admin Files section by going in Shopify Admin -> Settings -> Filesand press the "Upload" button to upload your files.
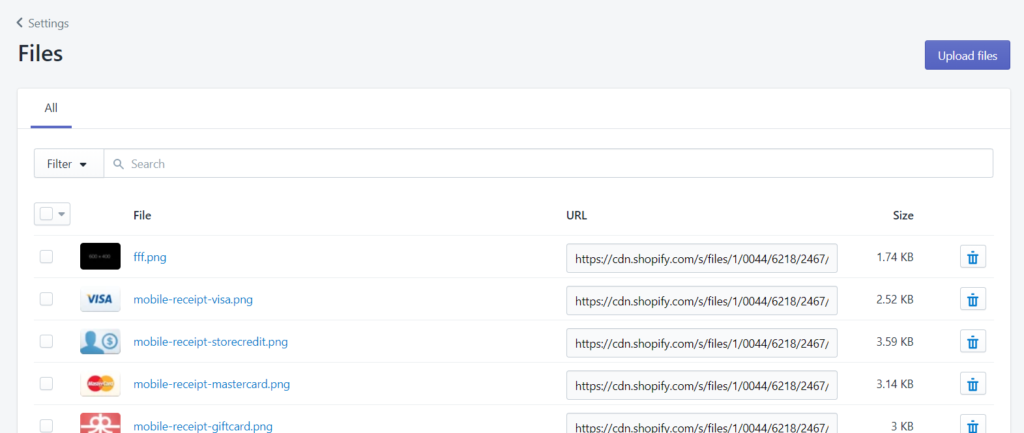
Navigate to where you had downloaded your file and locate the "images" folder.
Select to upload all images from this folder. This can be done by pressing Ctrl+A (or Cmd+A on a Mac) buttons on your keyboard.
Wait for your files to get uploaded. Do not close the browser window till all files are uploaded into the Files section.
Note – It is important not to change names of the images as then uploaded image link will not match the one in your migrated Blog Post (or Page) content.

7. Check the Matrixify generated Excel file
Do this step if you did a dry-run earlier.
In the unzipped file you also had an Excel file.
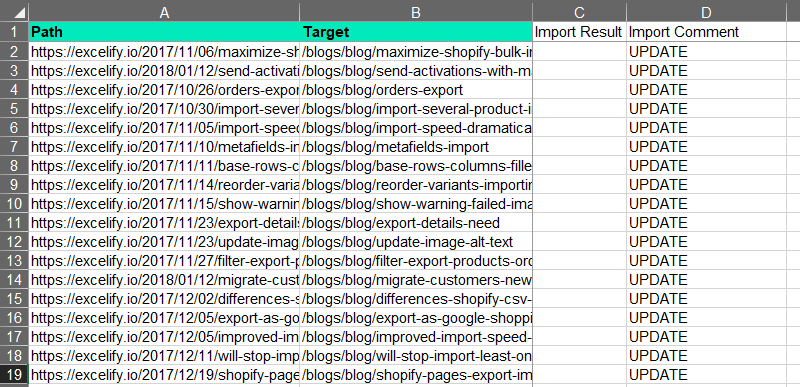
This file should contain two sheets – "Blog Posts" or "Pages" and "Redirects".
This is a great moment to clean up some data that you do not wish to migrate to Shopify.
Check the file for any obvious errors or incorrect data that you might wish to fix.
All none-colored columns are there only for the reference if you need to edit/check the data – they will not be actually imported into to Shopify.
Note – Image links in your blog post content already have been transformed to lead to your Shopify Files section, so they will not point to your old WordPress site.
Note – if you are copying the data to other sheets, then before importing make sure that sheet/tab name in the Excel file is " Blog Posts " for the blog posts, " Pages " for the pages and " Redirects " for redirects. The Matrixify app uses this sheet name to tell what you are importing.
Blog Posts

Pages

Redirects
8. Import your Excel file in the Matrixify
Do this step if you did a dry-run earlier or if you want to change some data and do the re-import again.
If all the data looks correct in the Excel file and images to have been uploaded, then you can go into the Matrixify app and now in the "Import" section upload the generated Excel file.
Once the file is uploaded and analyzed, make sure that the app recognizes the contents as Blog Posts and Redirects, since you are now uploading Matrixify template file then you will also see that format is "Matrixify".
This time you do not need to select the "dry-run" option as now you need to actually import the Blog Posts, if all details look correct, you can just start the import by pressing the "Import" button.
9. Check your Import Results file after the import
If you see anyFailed items, then after the import has finished, you can download theImport Results file and look into the "Import Comment" column. It will tell why the particular item has failed. Then you can fix that issue and re-import just those failed and fixed rows again.
Note – you do not need to keep the app open while the job is running as the app is working on it on our servers. You are free to close the app and by default store owner will receive an email about a finished job (can be edited in Matrixify app settings).
You can always find this job in the app by going into "All Jobs" page.
10. Enjoy your migrated data
Once the import finishes you will see that it has a green "Finished" label.
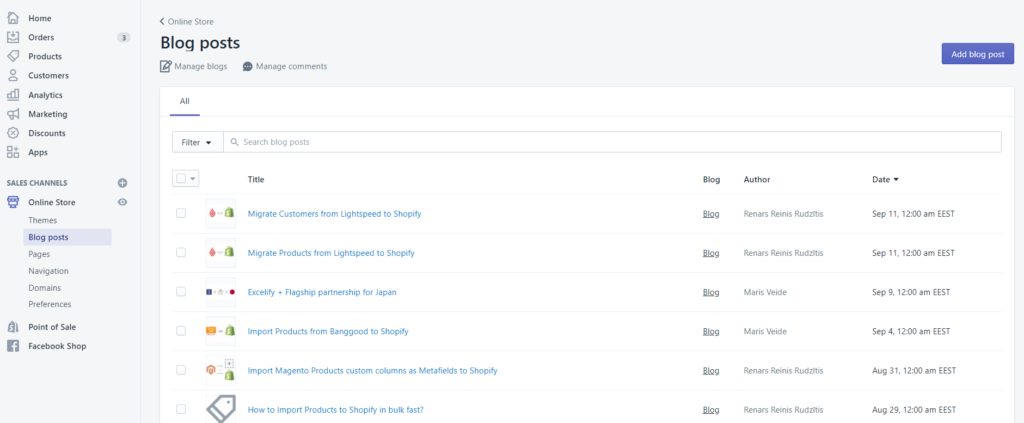
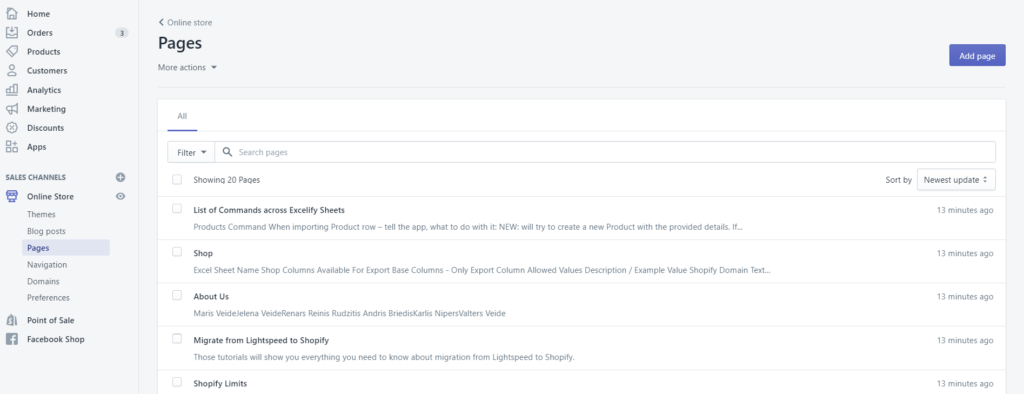
Then you can go into your Shopify Admin and check your migrated Blog Posts or Pages.
Good to know
- This tutorial explains how the WordPress migration can be done with the Matrixify app, click here to install the Matrixify app.
- Migrating Blog Posts and Pages from WordPress will migrate the actual content of the posts or pages. This will not include your sites theme settings, such as fonts, default text sizes, page image or row margins, etc. In Shopify, this would need to be set up for your store's theme.
- See how to migrate your WooCommerce data to Shopify – like Products, Categories, Customers, and Orders.
- Check out other Shopify Blog Post related tutorials.
- Each column in our template files is explained in our template documentation.
- Learn more about migrations to Shopify and what other types of data Matrixify can migrate to Shopify in bulk.
- If the import speed is important to you, the higher plan you upgrade to, the quicker the import will be. For example, Enterprise Plan essentially spins off 10 parallel import processes, achieving the effect as if 10 apps would import your data in parallel.
- If you feel stuck with something, our Support is willing to help you – just reach out to us.
How To Add Wordpress Blog To Shopify
Source: https://matrixify.app/tutorials/migrate-blog-posts-from-wordpress-to-shopify/
Posted by: ishmaelbobre1943.blogspot.com
0 Response to "How To Add Wordpress Blog To Shopify"
Post a Comment